![Neeve-Logo-Lockup-SM_rectangle_reverse .png]](https://support.neeve.ai/hs-fs/hubfs/Neeve-Logo-Lockup-SM_rectangle_reverse%20.png?height=40&name=Neeve-Logo-Lockup-SM_rectangle_reverse%20.png)
Prerequisites & Initial Setup
Before configuring the node, you must connect your laptop directly to the device and configure your local network settings so they are on the same subnet.
- Physical Connection: Use an RJ45 Ethernet cable to connect your laptop's Ethernet port directly to the Node. Try using the LAN C port first. (If LAN C is unavailable, you may use LAN B or LAN D).
- Network Setup: Set your laptop’s Ethernet interface to static mode using the following settings:
- IP Address:
192.168.192.100(or192.168.192.100/24) - Subnet Mask:
255.255.255.0 - Default Gateway:
192.168.192.168
- IP Address:
Step 1: Download Your Default SSH Key
- Log in to the Secure Edge portal
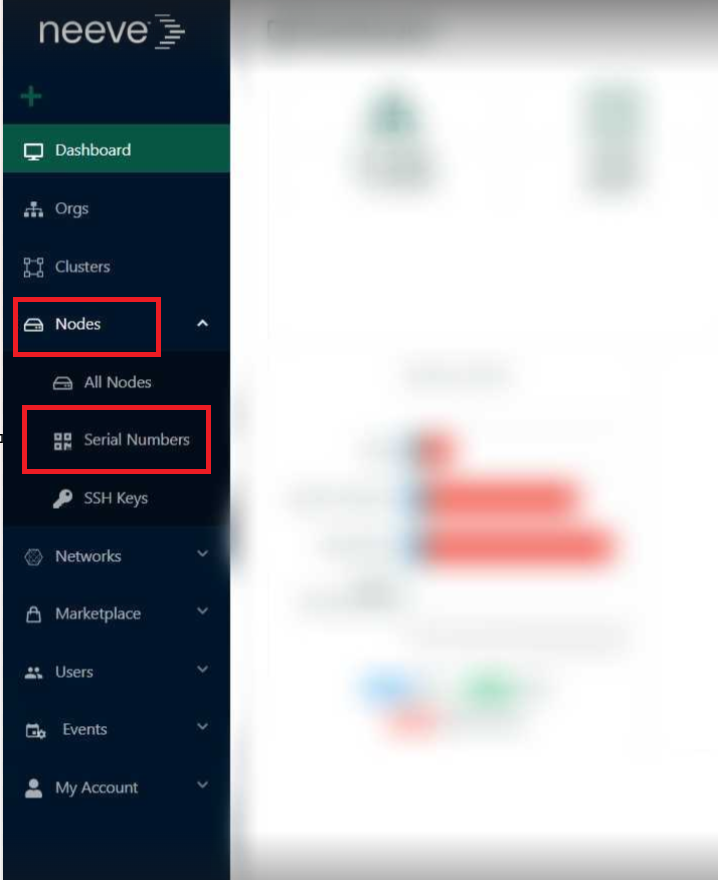
- On the left-hand menu, click Nodes and select Serial Numbers.
- In the top right corner, search for the serial number of the Node you are configuring.
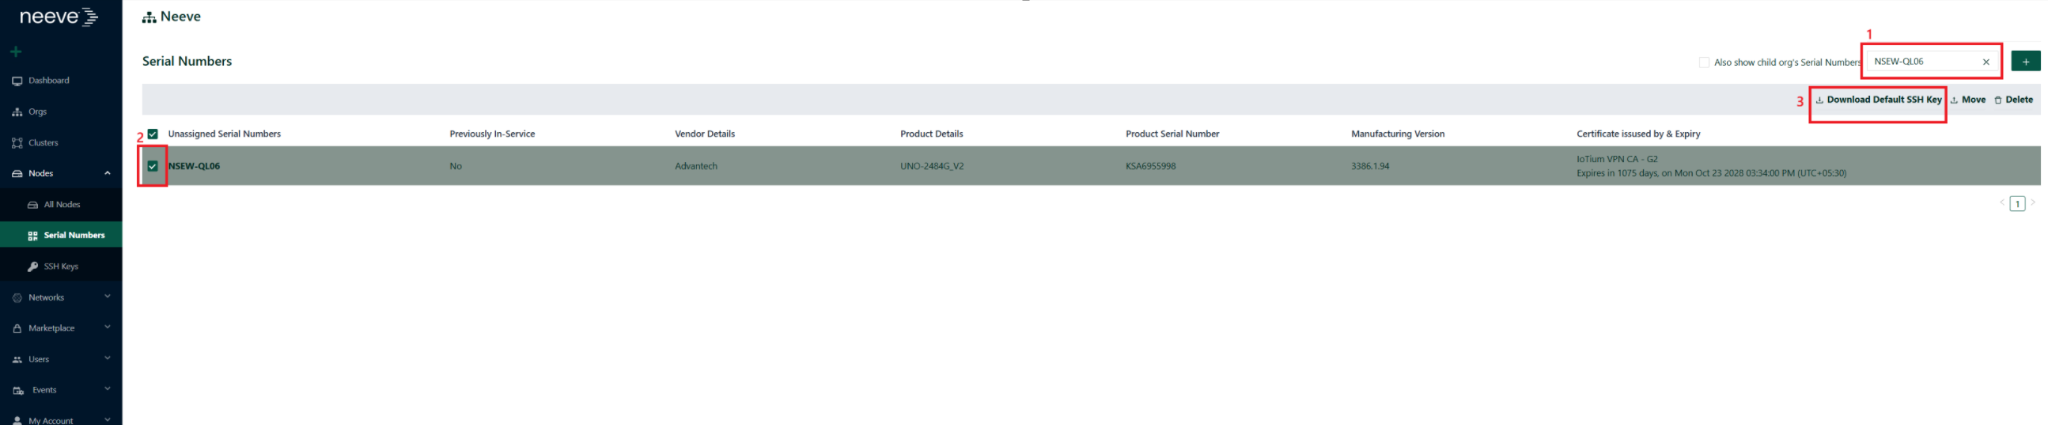
- Check the box next to your Node, then click Download Default SSH Key.
- The key will download to your computer as a
.pemfile (typically named after your serial number, e.g.,<serial_number>.pem). - Click the checkbox(2) and then click on 'Download Default SSH Key'(3) for the node.
- The key will be saved in the Downloads folder on your PC. Saved as “xxxx”.pem
- In MAC, please do a chmod 400 <xxxx.pem>
- Now configure your PC Ethernet port to management IP as given below.
- IP: 192.168.192.100; subnet mask: 255.255.255.0; gateway: 192.168.192.168; DNS: 8.8.8.8
- Connect your PC to Node’s LAN B or C or D port to SSH into the Node.
- Open the Command Prompt (CMD) or Terminal and navigate to the Downloads folder by giving “cd downloads”.
- Once get into the Downloads folder give the below syntax to SSH into the Node.
